
I cannot understand the space from 2D drawings
We build the room in three dimensions so you can understand volume, ceiling height, furniture scale, views, circulation and how one zone relates to another before the physical work starts.
Meet the studio, understand our process and discover how we move from first conversation to finished space.
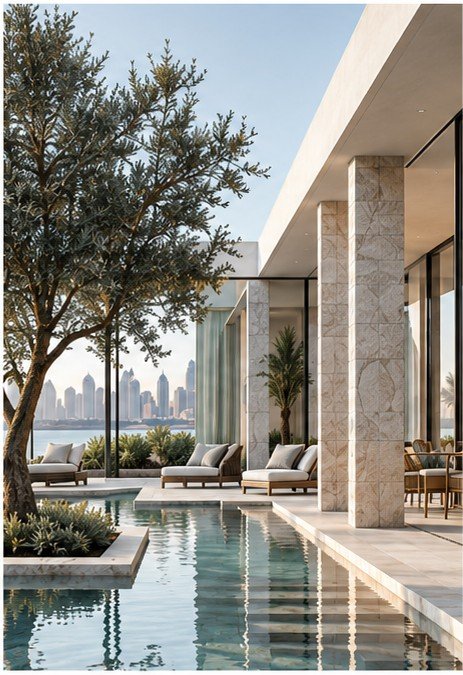
See the Space Before You Build, Buy or Approve It
A floor plan can tell you where the sofa sits. A 3D visualization can show you whether the sofa feels too large, whether the marble competes with the timber, whether the cove light actually creates the atmosphere you expected, and whether a custom joinery idea still works when you see the whole wall together. Bella uses 3D as a decision-making tool—not as decoration added after the design is already finished.
We create 3D floor plans, photorealistic interior views, material and lighting studies, selected design variations, 360° / panoramic presentations and walkthrough-ready visual packages for villas, apartments, offices, retail, hospitality and specialist interiors. The model is developed from the design information you provide or from a Bella design scope, then refined around the level of accuracy required for design approval, stakeholder presentation, fit-out coordination or property marketing.
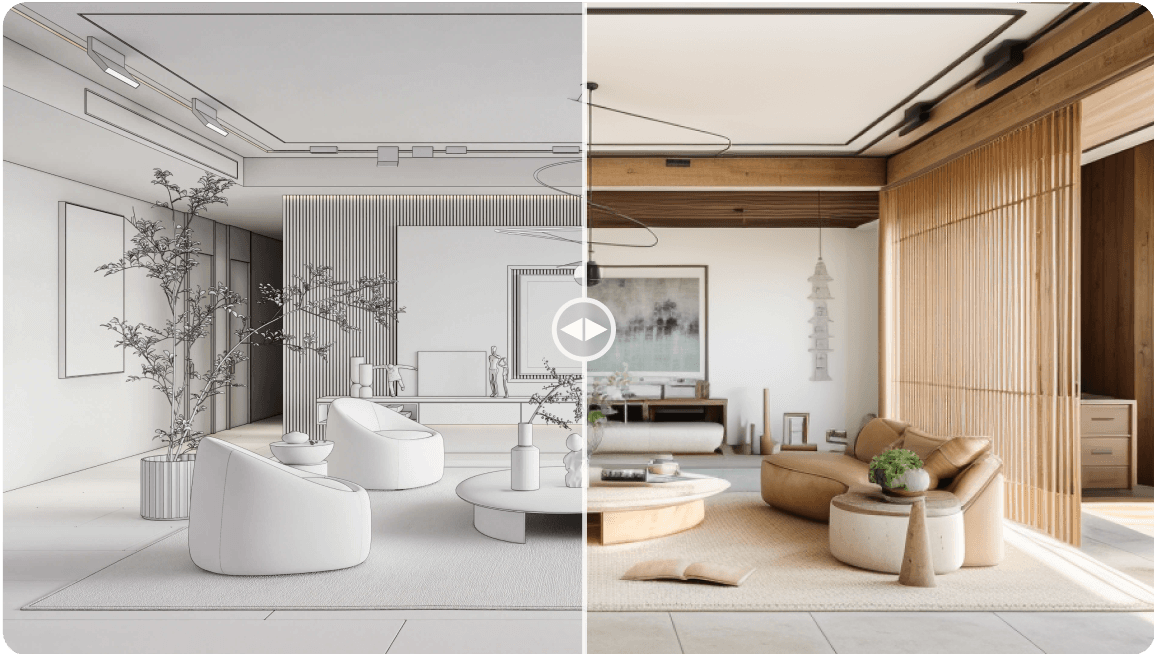
Use 3D to Resolve a Decision
The best visualization brief starts with the decision the image needs to support. A design-approval render, sales image and material-comparison study may show the same room—but they should not be produced in the same way.
We build the room in three dimensions so you can understand volume, ceiling height, furniture scale, views, circulation and how one zone relates to another before the physical work starts.
We place the selected timber, stone, metal, upholstery and colour direction into one controlled scene. That lets you compare combinations in context instead of approving each material independently and discovering later that the palette is too busy.
A 3D view can reveal proportions, shadow lines, storage mass, TV / artwork relationships, lighting integration and how the joinery turns corners. Bespoke items can be modeled specifically instead of represented by an unrelated catalogue asset.
We can study daylight, warm / neutral artificial-light direction, accent lighting and indirect effects visually. The render communicates atmosphere; the final lux levels, circuiting, drivers and technical lighting design still need the appropriate project documentation.
We lock the layout, then material direction, then camera / scene details in deliberate stages. That prevents a late furniture swap from becoming an accidental redesign of the joinery, ceiling and lighting in every view.
For off-plan, hospitality, retail and developer presentations, the visual brief can be more cinematic—but the image still needs a clear status. We distinguish design-intent imagery from fully documented construction information so marketing does not silently become a technical promise.
Three Things Make a Useful Render
Photorealism is valuable only when the image represents the design you intend to approve.
The room model should start from reliable dimensions, plans or BIM / CAD information. If the source is approximate, the visualization must be labelled accordingly rather than presented as millimetre-accurate design documentation.
We build material response—not just colour. Roughness, reflection, grain, veining, translucency and the direction / temperature of light determine whether stone, timber, fabric and metal feel credible.
A render is fast to revise only when the design decision is isolated. We define what is being approved at each stage and what counts as a new design direction after approval.
Choose the Visualization Format
Different visualization formats solve different problems. A 3D floor plan explains layout quickly; a hero render sells atmosphere; a material study compares options; a walkthrough explains sequence and movement.

A bird’s-eye or dollhouse view helps clients, tenants and property buyers understand room relationships, furniture scale and circulation without reading technical drawings.

A controlled camera view is ideal for approving composition, joinery, colour, furniture and lighting before materials are ordered or site work reaches the finish stage.

When the geometry stays fixed, we can compare a controlled set of material directions—such as warm oak versus walnut, pale stone versus darker surfaces, or softer versus higher-contrast palettes—without redesigning the room.
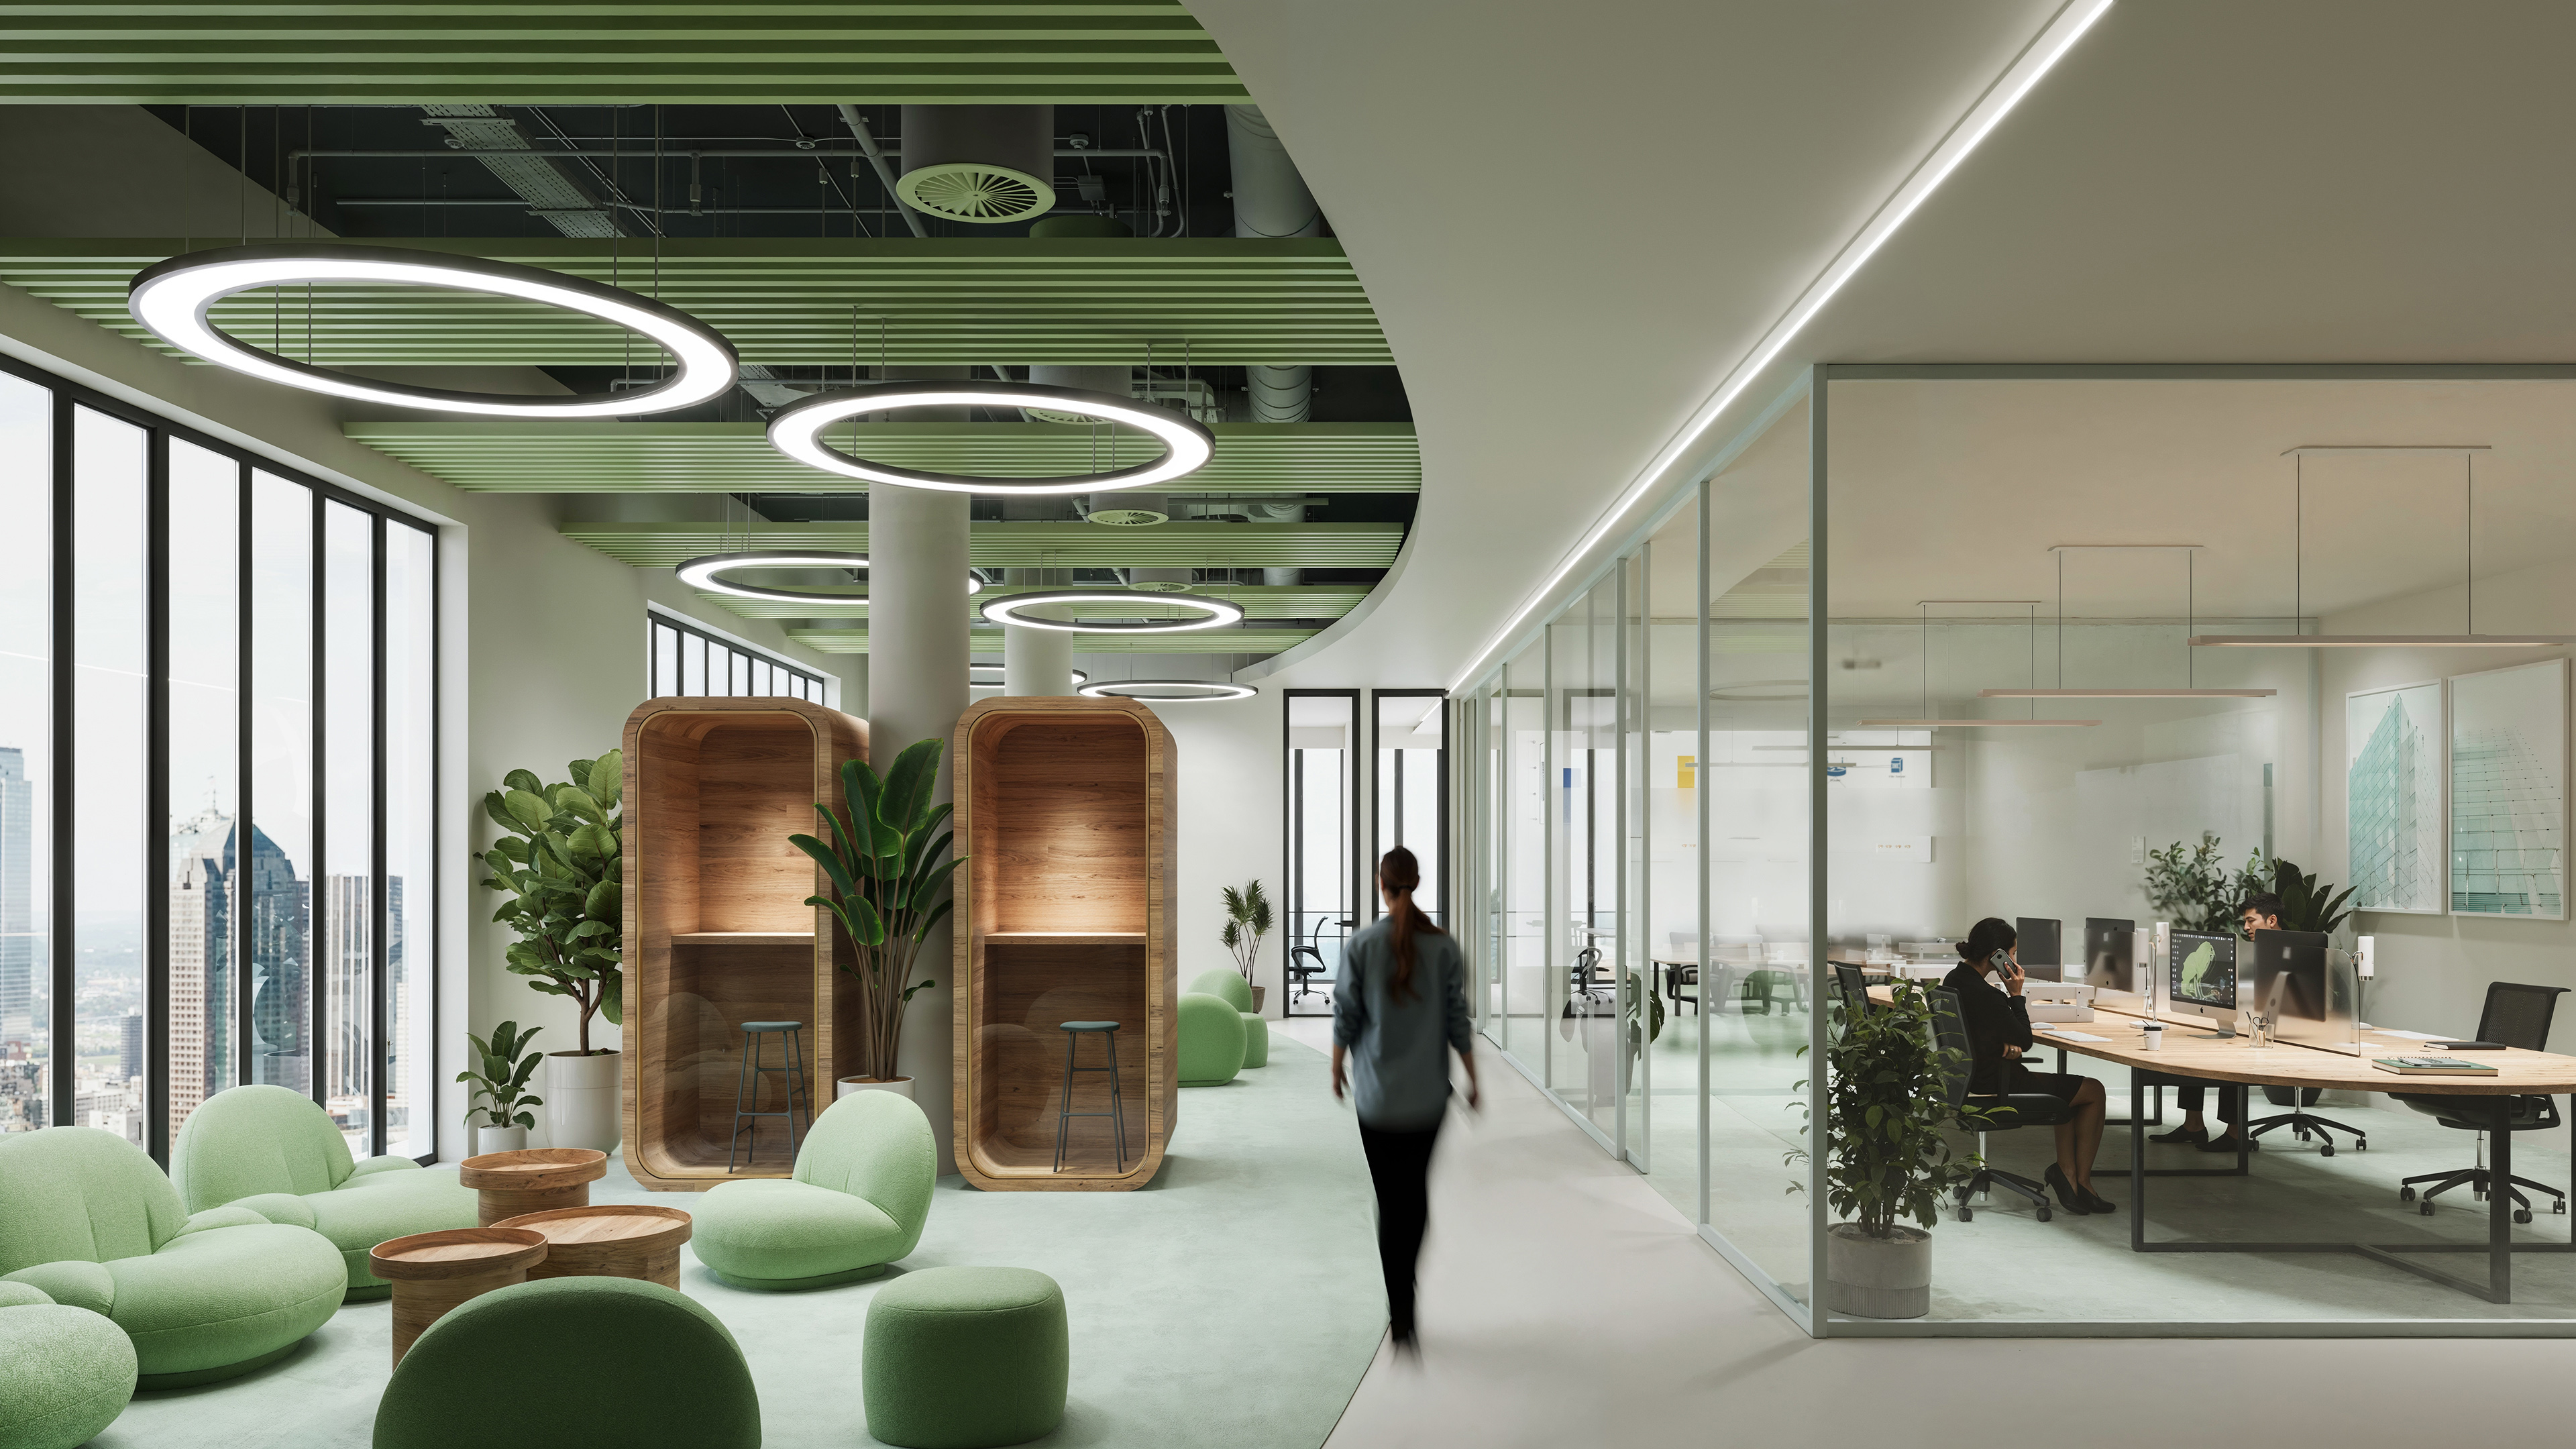
Panoramas and moving camera sequences help explain arrival, sequence and connected spaces. They are most useful when the layout and design are already sufficiently stable because every visible area has to be modeled and coordinated.
What 3D Interior Design & Visualization Can Include
The visualization scope should say what is being designed, what is only being modeled and what source information you are responsible for providing. That distinction controls cost, revisions and accuracy.
Build from the most reliable information available.
Create the physical room and the elements that affect the design decision.
Translate the approved palette into believable digital materials.
Show the room honestly and with enough atmosphere to judge it.
Choose deliverables around design review, presentation or marketing.
Keep design changes traceable.
A visualization package is not automatically a technical drawing set, BIM model, shop drawing, authority submission, measured survey or construction document. Those deliverables must be commissioned separately when the project needs them.
From Floor Plan to Final Frame
The process is designed so the model gains detail only after the underlying design is stable enough to justify it.
We establish whether the visuals are for design approval, client presentation, material selection, off-plan marketing, tender support or a walkthrough / 360° experience.
Visualization brief + deliverable listPlans, dimensions, photos, BIM / CAD, material references, FF&E and existing design information are reviewed. Missing information is flagged before detailed modeling begins.
Model-input checklistThe room, openings, ceiling, built-ins and principal furniture are modeled to the agreed level of accuracy before decorative detail is added.
Base 3D model / clay reviewWe choose the views that explain the room properly. Wide lenses can make a small space look misleadingly large, so camera angles are selected for communication rather than distortion.
Approved viewpointsTextures, roughness, reflection, upholstery, decorative lighting and daylight are developed from the design / sample references provided.
Material + lighting draftComments are consolidated by revision round. Geometry changes, finish changes and styling changes are separated so the impact on other views is clear.
Approved final-design sceneFinal stills, floor plans, panoramas or animation are rendered to the agreed resolution and format after the scene is approved.
Final visualization packageWhat Makes a Render Reliable
A render can look convincing even when the source information is wrong. These checks are what separate useful visualization from a beautiful guess.

Autodesk documents direct Revit / FBX workflows into 3ds Max that preserve geometry, lights, materials, cameras and metadata. For professional projects, linking or importing reliable CAD / BIM information reduces the risk of rebuilding the room from an approximate screenshot.
A wide lens can make a compact room look dramatically larger. Around 30–35 mm full-frame-equivalent views are often useful for a natural interior perspective, but camera height and focal length should follow the space and purpose rather than one fixed rule. The final image should communicate scale honestly.
Physically based rendering uses colour together with reflection, roughness, normal / bump information, transparency and other surface properties. Autodesk 3ds Max and Blender both support PBR-style material workflows, which is why two beige surfaces can look completely different in the final image.
Autodesk’s current 3ds Max feature set includes colour-management / OCIO support specifically to improve reproduction across applications and viewing conditions. Even so, a rendered image on a monitor is not a substitute for approving a physical paint, veneer, fabric or stone sample.
Floor-to-ceiling glazing, pale stone, polished marble and intense exterior light can easily wash out a scene if exposure and reflections are poorly controlled. We balance daylight and interior lighting to show the design clearly rather than forcing every surface to appear brighter than it will in reality.
Planner 5D and Coohom now use AI for floor-plan recognition, layout generation and rapid visualization, while Chaos is also integrating AI-assisted ideation into professional rendering workflows. Those tools are excellent for exploring direction; final client-approval images should still be checked against the agreed dimensions, furniture and joinery.
Unreal Engine is designed for immersive real-time architectural experiences, while tools such as 3ds Max with Corona / V-Ray or Blender Cycles are widely used for controlled high-quality stills and animation. The best software stack depends on whether you need quick iteration, photoreal stills, a live walkthrough or an interactive configurator.
If the visualization shows a removed partition, changed wet area, new opening or altered MEP, that design still has to be verified through the required architectural / engineering and Abu Dhabi approval route. Photorealism does not turn a concept into construction permission.
Visualization vs. Technical Approval
A 3D visualization may accurately communicate an interior concept while still being unsuitable for construction. Contractors and authorities need dimensioned, coordinated technical information showing partitions, ceilings, finishes, MEP interfaces, fire-life-safety items and other project-specific requirements. Where a Bella project proceeds beyond visualization, the approved design can feed into those later documents.
In Abu Dhabi, the permit route depends on the property and the proposed work. DMT’s streamlined minor-works process covers specified non-structural modifications and interior finishes for eligible residential properties, while deeper alterations can require other consultant / permit routes. If a render proposes a physical change, confirm the correct approval path before demolition or fabrication.
Colour Palettes for 3D Review
Colour codes are useful because they keep feedback precise: 'make it warmer' becomes easier to discuss when both sides are looking at a defined reference. But the final surface still depends on manufacturer, finish, texture, lighting and colour-management conditions.
The palettes below are visualization starting points adapted from the style directions in the project research. They are not manufacturer paint codes.
3D Rendering Cost & Programme
Current 2026 UAE market references vary widely. A September 2026 Dubai visualization guide publishes roughly AED 900–8,000 for a single interior still and AED 3,000–15,000 for a package of six to ten apartment views. Another UAE specialist publishes approximately AED 2,500–6,000 per standard interior room and AED 6,000–14,000 for premium production, with 60–90 second walkthroughs around AED 18,000–70,000 depending on quality. Larger marketing productions can be priced differently again. These are third-party market references—not Bella rates.
Ask what the quote includes: modeling, design work, number of views, resolution, furniture assets, custom modeling, material setup, included revisions, source files, 360° outputs and animation. 'AED per render' is not comparable when one studio is modeling the entire room and another is rendering a model you already supplied.
Visualization References by Purpose
These are temporary third-party visualization references. Replace them with Bella-owned / licensed 3D work before final production publication.
3D Interior Design Questions, Answered Properly
These answers cover the questions people ask before deciding whether they need a quick planning tool, professional photorealistic rendering or a full design-and-visualization service.
3D interior design uses a digital three-dimensional model to represent the room, furniture, built elements, materials and lighting before the physical space is completed. It can range from a simple interactive room planner to highly detailed photorealistic visualization used for design approval, fit-out coordination or marketing.
3D stands for three-dimensional. Unlike a flat 2D plan that primarily communicates length and width, a 3D model also represents height and volume, allowing you to view the space from different angles and experience scale more intuitively.
There is no single best program. For high-control professional visualization, 3ds Max with renderers such as Corona or V-Ray is widely used. Revit is useful when the design is BIM-led; Blender provides powerful modeling and Cycles rendering in an open-source package; Unreal Engine is strong for real-time immersive experiences; Planner 5D and Coohom are faster, more accessible tools for floor planning and concept visualization.
A practical professional / consumer mix is Autodesk 3ds Max for detailed modeling and visualization, Revit for BIM-led building information, Blender for flexible modeling and Cycles rendering, Unreal Engine for real-time walkthroughs, and a browser / AI planner such as Planner 5D or Coohom for quick room layouts. The correct stack depends on whether accuracy, speed, collaboration or photorealism matters most.
Chaos Corona is a photorealistic renderer used extensively for architectural visualization. Chaos currently positions it around physically accurate lighting, interactive rendering, architectural materials and a workflow for 3ds Max / Cinema 4D, making it particularly useful for high-quality interior stills.
Start with accurate room dimensions, then model the walls, doors, windows and ceiling. Add fixed joinery and large furniture before styling, because scale and circulation matter more than accessories. Apply material references, set a realistic camera, add daylight / artificial lighting, then review the layout before producing the final render.
Begin with one modeling tool and one renderer rather than learning five programs at once. Learn dimensions and basic interior space planning first, then geometry, UV / texture scale, PBR materials, lighting, camera composition and post-production. Recreate a real room from measured dimensions so you can compare your model with reality.
Planner 5D currently offers AI floor-plan recognition and design-generation tools, while Coohom includes AI floor-plan recognition, smart layout and rendering features. Chaos also integrates AI-assisted concept tools into professional visualization workflows. AI is excellent for rapid option generation, but final approval visuals should be checked against the agreed geometry and specifications because generative tools can change details.
Current 2026 pricing varies substantially. One September Dubai guide places a single interior still around AED 900–8,000 and a six-to-ten-view apartment package around AED 3,000–15,000. Another UAE specialist places standard room renders around AED 2,500–6,000 and premium work around AED 6,000–14,000. Modeling, custom assets, revisions and resolution explain much of the spread.
Current published market bands vary by duration and production quality. One 2026 Dubai source publishes roughly AED 15,000–50,000 for a 30–60 second architectural walkthrough, while another UAE visualization guide places 60–90 second interior walkthroughs around AED 18,000–70,000. Treat these as third-party benchmarks rather than Bella pricing.
The computer may render the final frame in hours, but the project includes modeling, materials, lighting, camera review and revisions. A stable room with good source information may move through production in several working days; detailed bespoke rooms and multi-view packages can take one to two weeks or more. Walkthroughs commonly require multiple weeks.
The best starting package includes a dimensioned floor plan, ceiling heights, door / window locations, elevations or joinery drawings where available, site photos, material references, furniture dimensions, lighting intent and the exact areas / camera views required. Revit, CAD or an existing clean 3D model can reduce rebuilding time.
No. A render communicates how the design is intended to look and feel. Construction drawings communicate dimensions, assemblies, locations, specifications and technical coordination required to build it. Contractors should not be expected to fabricate complex joinery or alter MEP from a photorealistic image alone.
Yes, because it lets you test furniture footprint, visual weight and circulation before purchasing. The model should use real furniture dimensions and realistic clearances rather than simply choosing an ultra-wide camera that makes the room appear larger. In compact spaces, layout accuracy matters more than visual tricks.
They can show a very useful approximation, especially when good supplier textures and colour-managed workflows are used, but a screen image cannot reproduce every physical property of paint, stone, fabric, wood or metal. Final procurement should still be based on approved physical samples and product specifications.
Brief the Visualization Properly
Share the property type, location, areas to visualize, current design stage, required number of views, whether the project is for design approval or marketing, target resolution / format, budget and deadline.
Attach the best source information you have: dimensioned plans, CAD / Revit, elevations, site photos, material schedules, furniture references, joinery drawings and inspiration images. If the layout or design is not yet resolved, tell us—that means the project may need design work before it is ready for pure visualization.